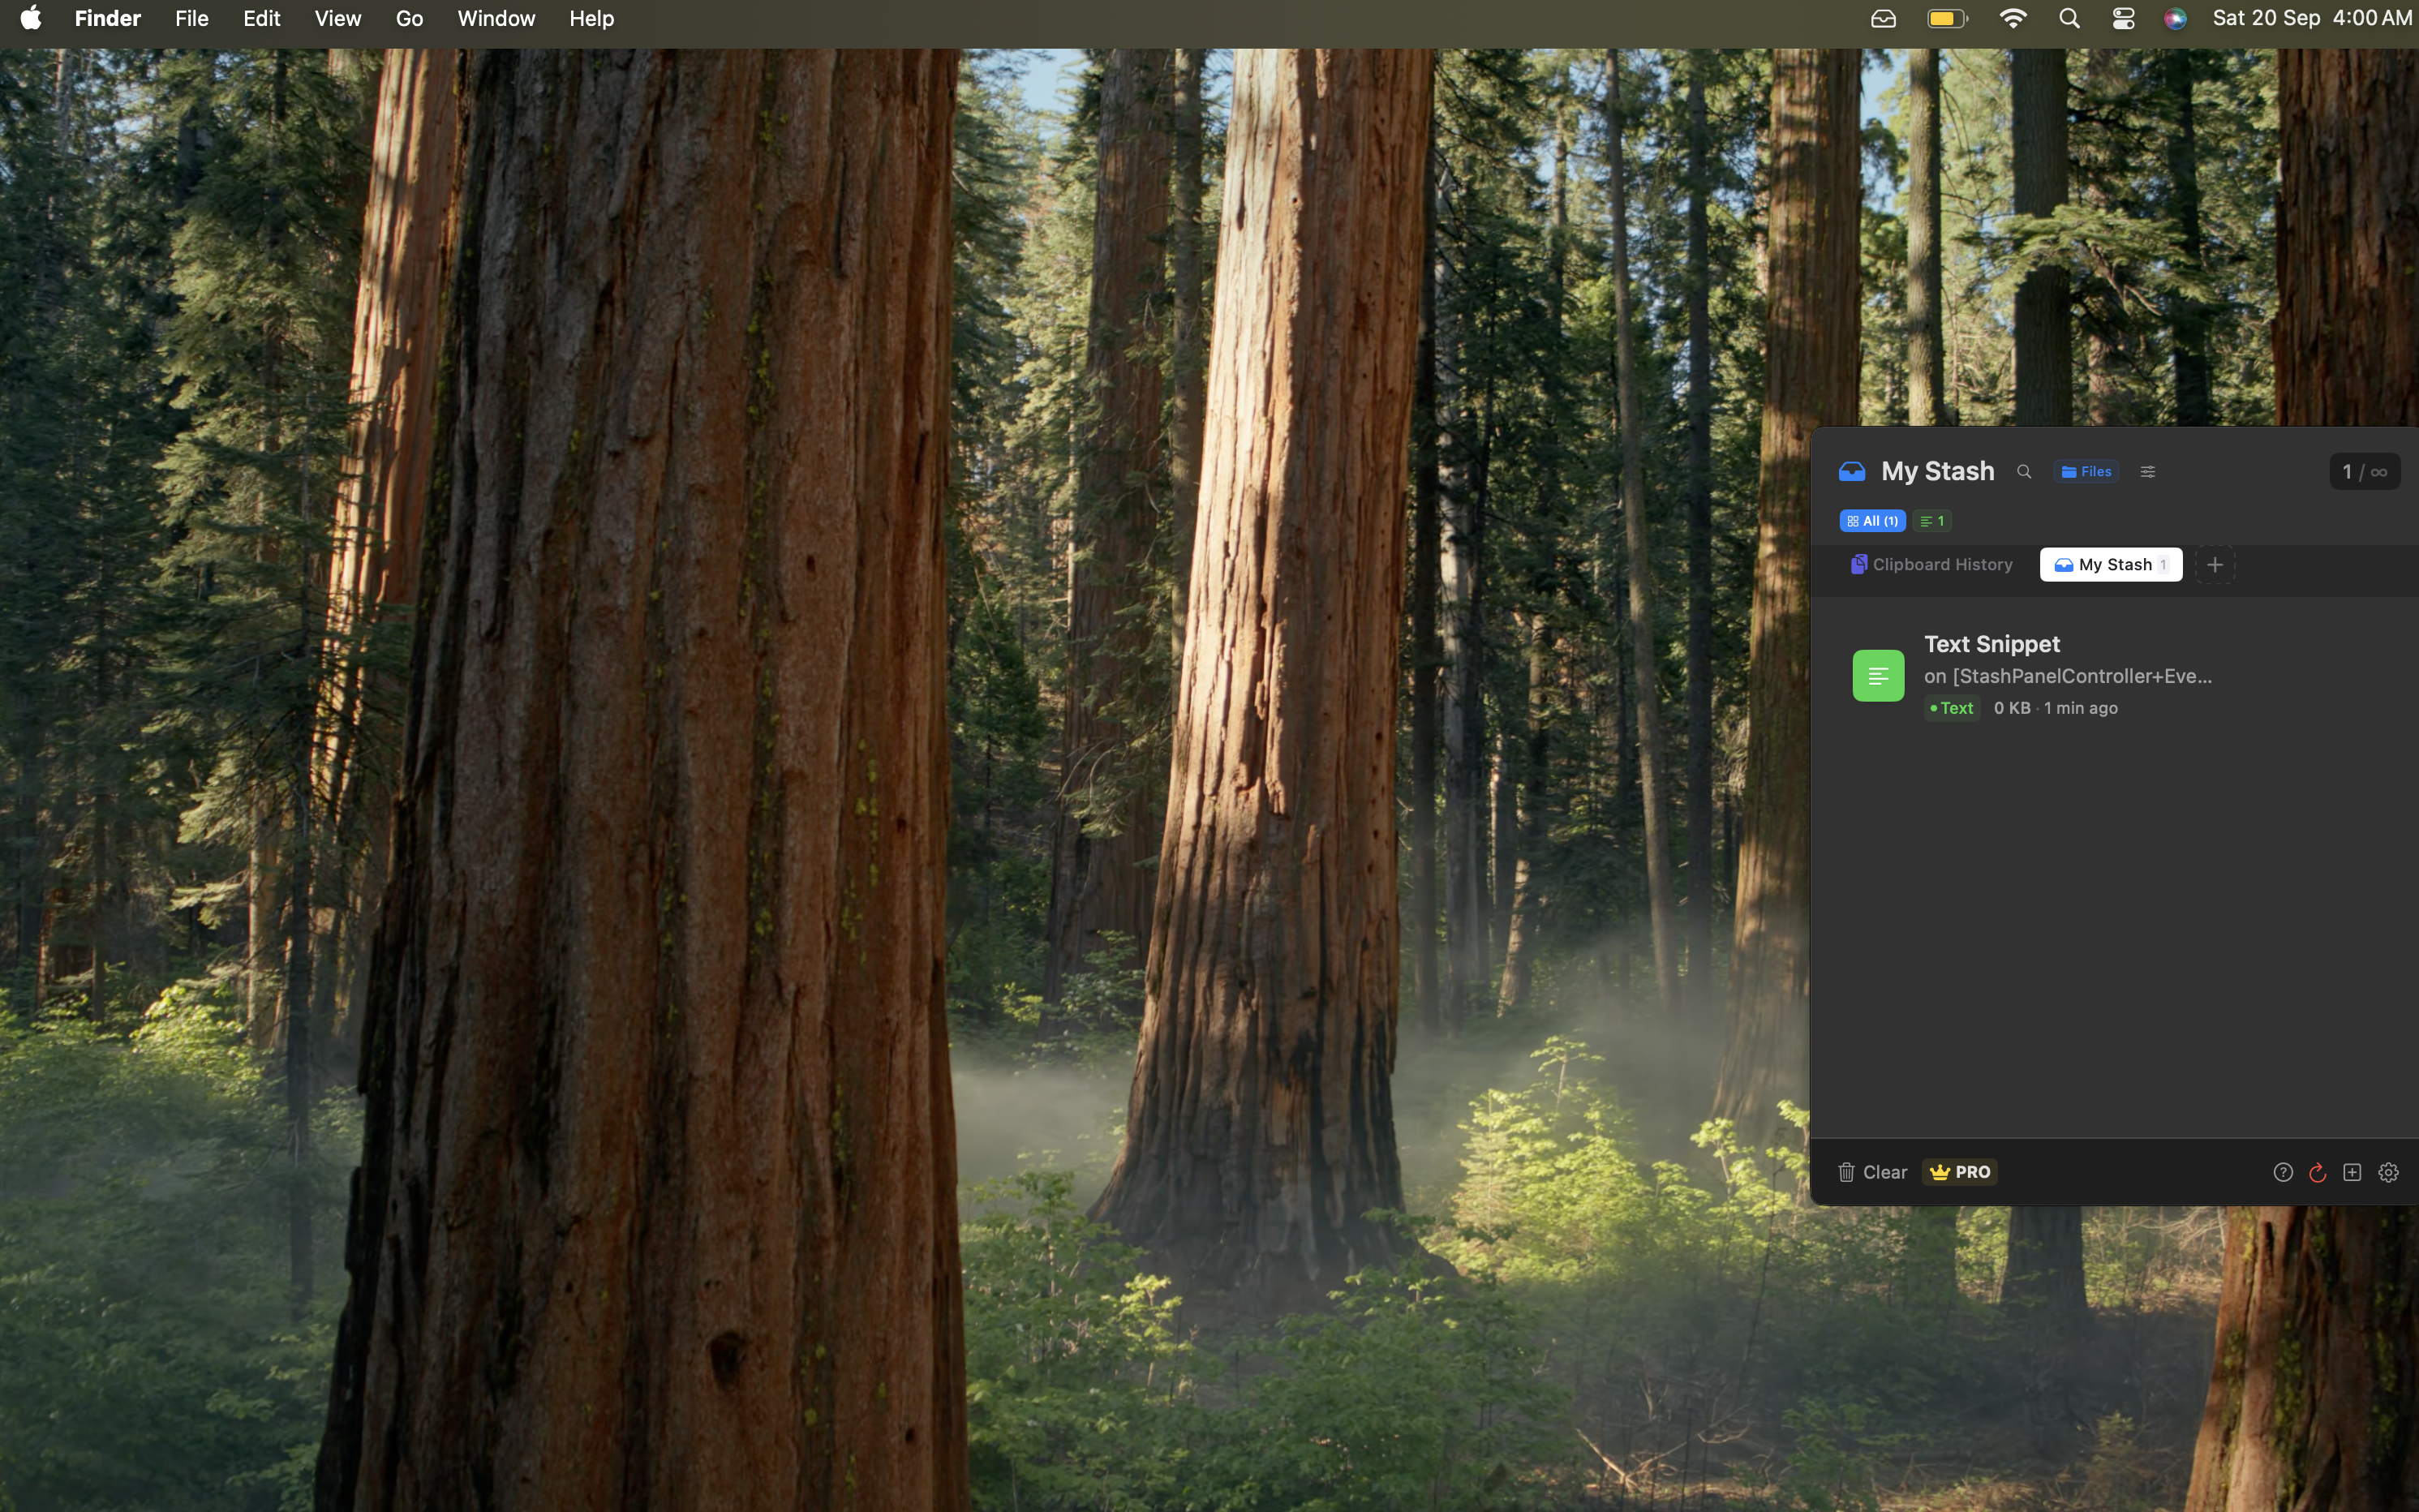
How to Use Stash
Getting Started
Stash lives in your menu bar and appears when you need it. Here's how to get started:
0. Grant Accessibility Permission (Required)
Important: Stash requires Accessibility permission for enhanced features like global hotkeys and app switching. The app will guide you through granting this permission.
Easy Setup: Open Stash and go to Preferences → General → System Permissions for guided setup with direct links to System Settings.
Manual Setup: If you prefer to set it up manually:
- Open System Settings → Privacy & Security → Accessibility
- Click the + button or drag Stash from Finder into the list
- Make sure the checkbox next to Stash is enabled
- You may need to restart Stash after granting permission
1. Show the Panel

- Move your cursor to the right edge of your screen
- Or double-tap the global hotkey ⌥⌥ to access edge screen clipboard (requires accessibility permission)
- The Stash panel will slide in from the right
2. Add Items
- Drag & Drop: Drag files, images, or text from any app into Stash
- Clipboard: Copy something (⌘C) then double-tap ⌥⌥ to capture it (requires accessibility permission)
3. Use Quick Actions
Hover over any item to see available actions:
- OCR: Extract text from images (document icon) - shows loading indicator while processing
- Transcribe: Convert audio/video speech to text (waveform icon) - processing indicator displayed
- Background Removal: Remove backgrounds from photos (scissors icon) - visual progress feedback
- Resize: Quickly resize images (resize icon) - loading state while processing
- Share: Export or share items (share icon)
Enhanced User Experience: All processing actions now show loading indicators and disable buttons to prevent multiple executions while processing.
Common Workflows
Screenshot → OCR → Text
- Take a screenshot of text (⌘⇧4)
- Open Stash (double-tap ⌥⌥ - requires accessibility permission)
- Click the OCR button on the screenshot (loading indicator will show)
- Copy the extracted text when processing completes
Photo → Background Removal → Export
- Drag a photo into Stash
- Click the background removal button
- Right-click the result and export
Batch Processing
Pro Feature: Process multiple items at once with powerful automation tools.
- Select multiple items (⌘-click to multi-select)
- Click the "Batch" button in the header
- Choose your processing action:
- Process for Web: Resize and optimize images for web use
- Resize Images: Batch resize to specific dimensions
- Convert Format: Convert images to different formats
- Rename Files: Batch rename with patterns
- Compress Images: Reduce file sizes
- Move to Folder: Organize files into folders
- Configure parameters and start processing
Keyboard Shortcuts:
- ⌘+A - Select all items
- ⌘+click - Multi-select items
- Escape - Clear selection
- Delete - Remove selected items
Pro Features
Upgrade to Pro to unlock:
- Unlimited Items: Store as many items as you need
- Multiple Shelves: Organize items into custom categories
- Advanced Actions: All processing features without limits
- Custom Workflows: Create your own batch processing rules
Keyboard Shortcuts
- ⌥⌥ (double-tap): Show Stash panel and access edge screen clipboard (requires accessibility permission)
- ⌘N: Create new shelf (Pro)
- ⌘Delete: Delete selected items
- Space: Quick preview
- ⌘A: Select all items
- ⌘+click: Multi-select items
Tips & Tricks
- Items are automatically organized by type and date
- Right-click items for more options and export formats
- Use shelves to organize projects or workflows
- Double-tap ⌥⌥ for quick access to edge screen clipboard functionality
- Watch for loading indicators during processing - buttons are disabled to prevent double-execution
- Grant accessibility permission for global hotkeys and enhanced app switching (optional)
- Stash works completely offline - your data stays on your Mac
- The panel auto-hides when you click outside it